Join us October 28-29 in San Francisco or online for GitHub Universe, our flagship developer event uniting people, agents, and the world's code.
Register now
Building your first Atom plugin
Authored by GitHub Campus Expert @NickTikhonov. This tutorial will teach you how to write your first package for the Atom text editor. We’ll be building a clone of Sourcerer, a…
This tutorial will teach you how to write your first package for the Atom text editor.
We’ll be building a clone of Sourcerer,
a plugin for finding and using code snippets from StackOverflow. By the end
of this tutorial you will have written a plugin that converts programming
problems written in English into code snippets pulled from StackOverflow:
Atom is written using web technologies. Our package will be built entirely using the EcmaScript 6 standard for JavaScript. You will need to be familiar with:
You can follow this tutorial step-by-step or check out the supplementary repository on GitHub, which contains
the plugin source code. The repository history contains one commit for each step outlined here.
Download Atom by following the instructions on the Atom website.
We will also need to install apm, the Atom Package Manager command line tool.
You can do this by opening Atom and navigating to Atom > Install Shell Commands
in the application menu. Check that apm was installed correctly by opening your
command line terminal and running apm -v, which should print the version of
the tool and related environments:
Let’s begin by creating a new package using a utility provided by Atom.
Launch the editor and press Cmd+Shift+P (on MacOS) or
Ctrl+Shift+P
(on Windows/Linux) to open the Command Palette.
Search for “Package Generator:
Generate Package” and click the corresponding item on the list. You will see a
prompt where you can enter the name of the package – “sourcefetch”.
Press enter to generate the starter package, which should automatically be opened in Atom.
If you don’t see package files appear in the sidebar, press
Cmd+K Cmd+B (on
MacOS) or Ctrl+K
Ctrl+B (on Windows/Linux).
The Command Palette lets you find and run package commands using fuzzy search.
This is a convenient way to run commands without navigating menus or
remembering shortcuts. We will be using it throughout this tutorial.
Let’s try out the starter package before diving into the code itself. We will
first need to reload Atom to make it aware of the new package that was added.
Open the Command Palette again and run the “Window: Reload” command.
Reloading the current window ensures that Atom runs the latest version of our
source code. We will be running this command every time we want to test the
changes we make to our package.
Run the package toggle command by navigating to Packages > sourcefetch > Toggle
using the editor menu, or run sourcefetch: Toggle using the Command Palette.
You should see a black box appear at the top of the screen. Hide it by running
the command again.
toggle is a function exported by the module. It uses a ternary operator to call show and hide
on the modal panel based on its visibility. modalPanel is an instance of Panel, a UI element provided by the
Atom API. We declare modalPanel inside export default, which lets us access it as an
instance variable with this.
The above statement tells Atom to execute toggle every time the user runs sourcefetch:toggle. We subscribe an anonymous function, () => this.toggle(),
to be called every time the command is run. This is an example of event-driven programming,
a common paradigm in JavaScript.
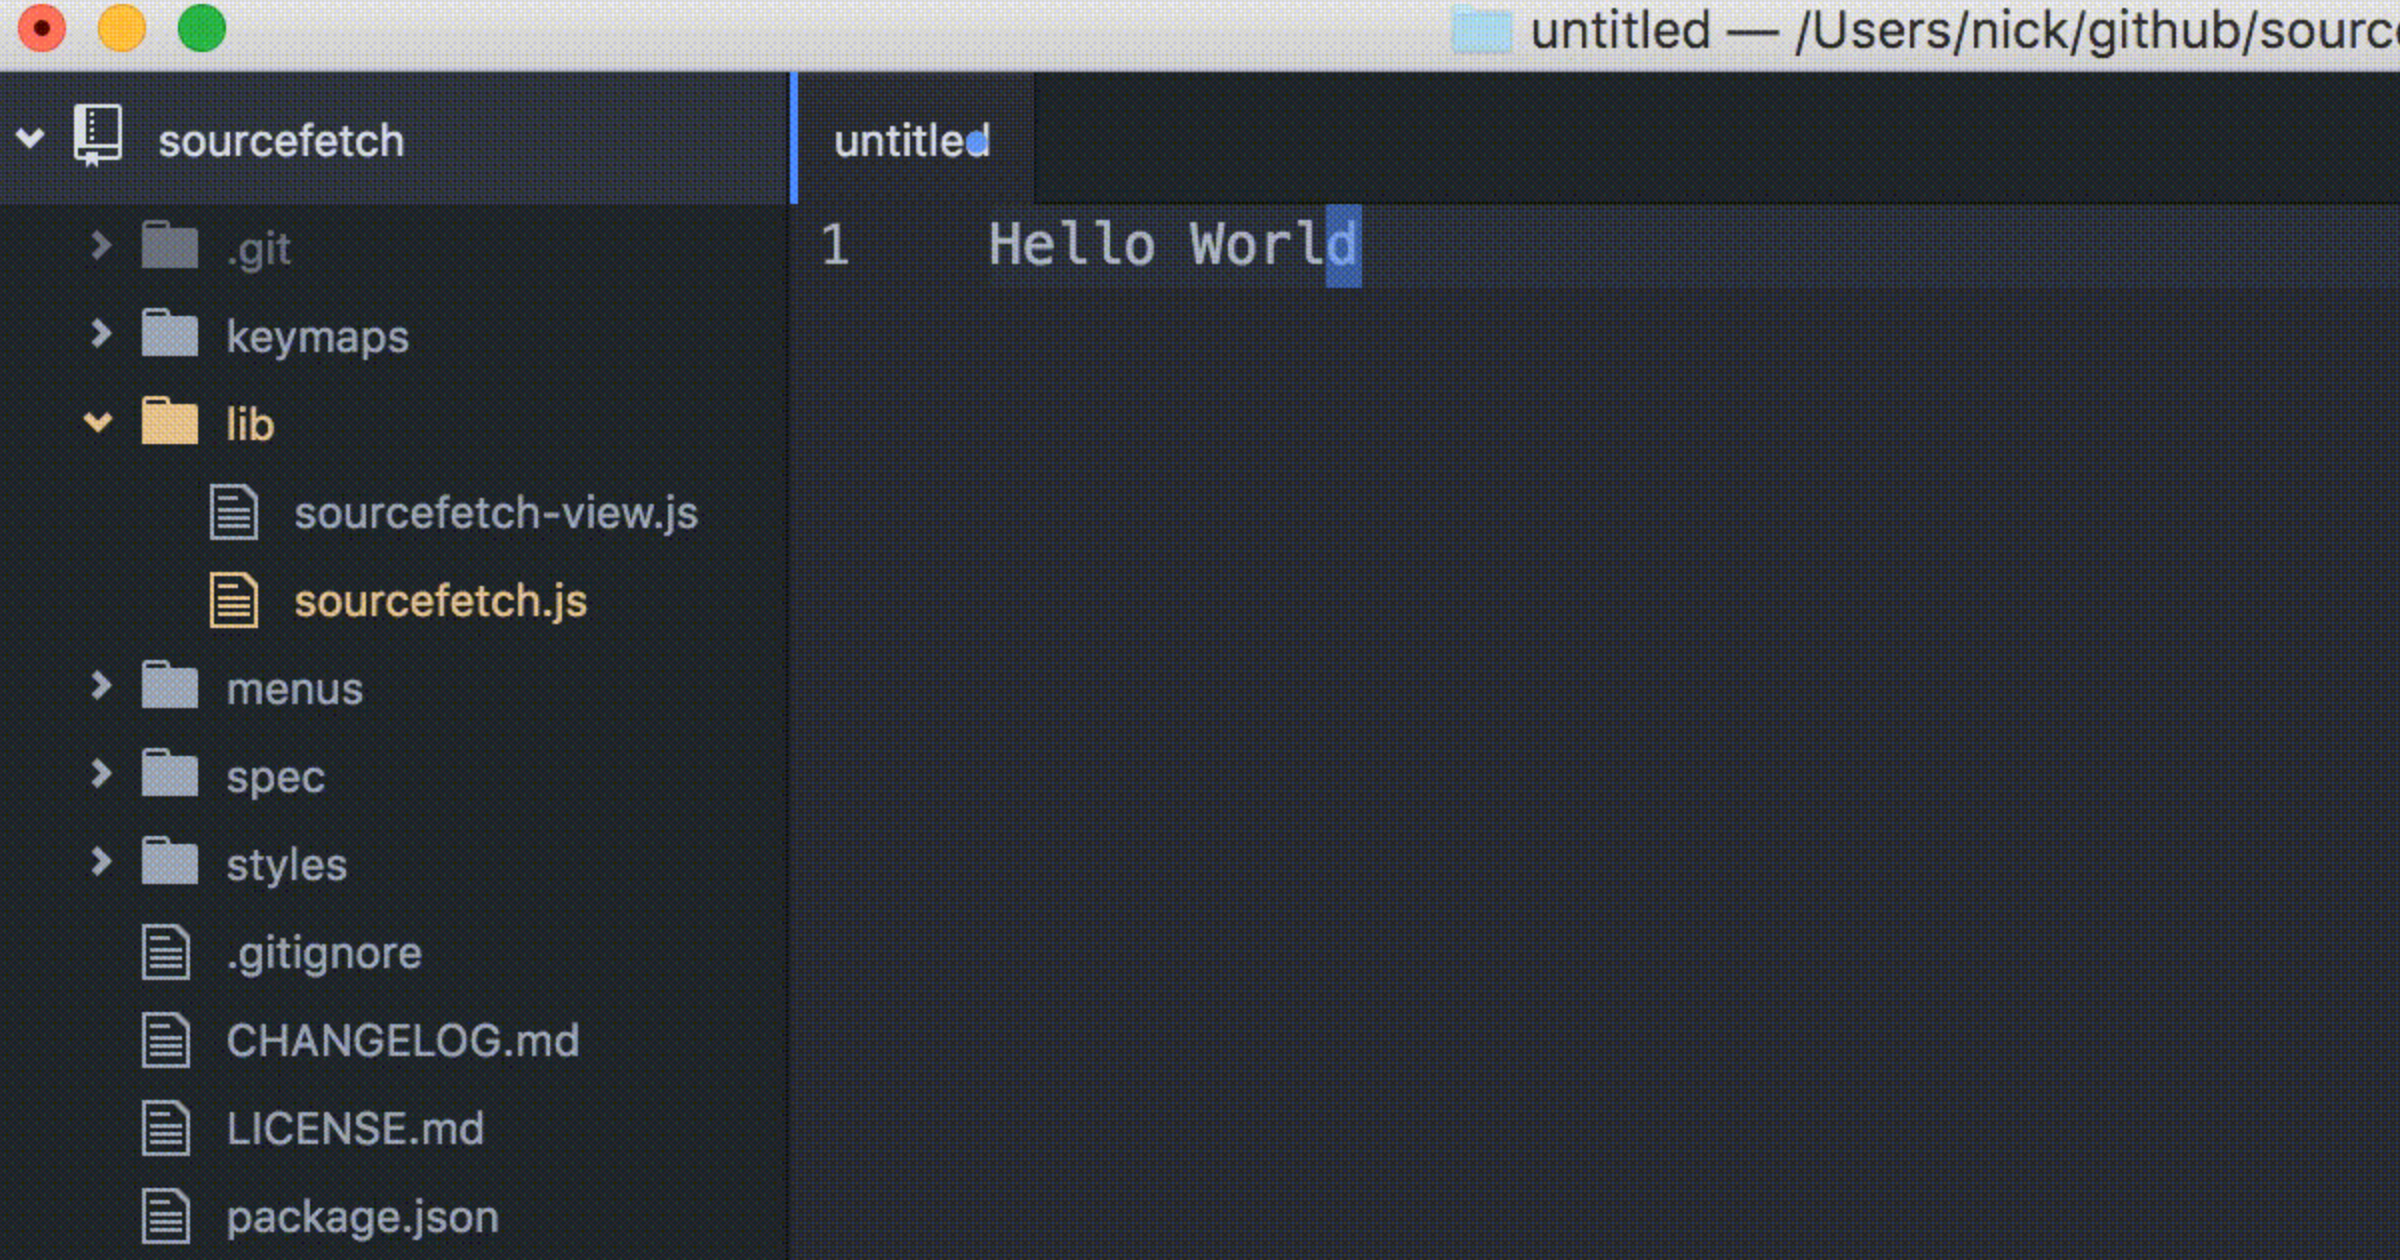
Change the toggle function to match the snippet below.
JavaScript
toggle() {
  let editor
  if (editor = atom.workspace.getActiveTextEditor()) {
    let selection = editor.getSelectedText()
    let reversed = selection.split('').reverse().join('')
    editor.insertText(reversed)
  }
}
toggle() {
  let editor
  if (editor = atom.workspace.getActiveTextEditor()) {
    let selection = editor.getSelectedText()
    let reversed = selection.split('').reverse().join('')
    editor.insertText(reversed)
  }
}
The code we added uses the TextEditor API
to access and manipulate the text inside the editor. Let’s take a closer look.
JavaScript
let editor
if (editor = atom.workspace.getActiveTextEditor()) { /* ... */ }
let editor
if (editor = atom.workspace.getActiveTextEditor()) { /* ... */ }
The first two lines obtain a reference to a TextEditor
instance. The variable assignment and following code is wrapped in a conditional
to handle the case where there is no text editor instance available, for example,
if the command was run while the user was in the settings menu.
let selection = editor.getSelectedText()
let selection = editor.getSelectedText()
Calling getSelectedText gives us access to text selected by the user. If
no text is currently selected, the function returns an empty string.
JavaScript
let reversed = selection.split('').reverse().join('')
editor.insertText(reversed)
let reversed = selection.split('').reverse().join('')
editor.insertText(reversed)
Our selected text is reversed using JavaScript String methods
. Finally, we call insertText to replace the selected text with the
reversed counterpart. You can learn more about the different TextEditor methods
available by reading the Atom API documentation.
The main file is the entry-point to an Atom package. Atom knows where to find the
main file from an entry in package.json:
"main":"./lib/sourcefetch",
"main": "./lib/sourcefetch",
The file exports an object with lifecycle functions which Atom calls on
certain events.
activate is called when the package is initially loaded by Atom.
This function is used to initialize objects such as user interface
elements needed by the package, and to subscribe handler functions to package
commands.
deactivate is called when the package is deactivated, for example, when
the editor is closed or refreshed by the user.
serialize is called by Atom to allow you to save the state of the package
between uses. The returned value is passed as an argument to activate when
the package is next loaded by Atom.
We are going to rename our package command to fetch, and remove user interface
elements we won’t be using. Update the file to match the version below:
To improve performance, Atom packages can be lazy loading. We can tell Atom to
load our package only when certain commands are run by the user. These commands
are called activation commands and are defined in package.json:
The context-menu object lets us define new items in the right-click menu. Each
item is defined by a label to be displayed in the menu and a command to run when
the item is clicked.
The above lets package users call toggle with Ctrl+Alt+O
on Windows/Linux or Cmd+Alt+O on MacOS.
Rename the referenced command to fetch:
"ctrl-alt-o":"sourcefetch:fetch"
"ctrl-alt-o": "sourcefetch:fetch"
Reload Atom by running the Window: Reload command. You should see that the
application and right-click menus are updated, and the reverse functionality
should work as before.
Now that we’ve made our first code change and learned about Atom package structure,
let’s introduce our first dependency—a module from Node Package Manager (npm). We will use the request
module to make HTTP requests and download the HTML of a website. This functionality
will be needed later, to scrape StackOverflow pages.
Open your command line application, navigate to your package root directory
and run:
console
npm install --save request@2.73.0
apm install
npm install --save request@2.73.0
apm install
These commands add the request Node module to our dependencies list and
install the module into the node_modules directory. You should see a new entry
in package.json. The @ symbol tells npm to install
the specific version we will be using for this tutorial. Running apm install
lets Atom know to use our newly installed module.
This function uses request to download the contents of a web page and logs
the output to the Developer Console. When the HTTP request completes, our callback function
will be called with the response as an argument.
The final step is to update fetch so that it calls download:
JavaScript
fetch() {
  let editor
  if (editor = atom.workspace.getActiveTextEditor()) {
    let selection = editor.getSelectedText()
    this.download(selection)
  }
},
fetch() {
  let editor
  if (editor = atom.workspace.getActiveTextEditor()) {
    let selection = editor.getSelectedText()
    this.download(selection)
  }
},
Instead of reversing the selected text, fetch now treats the selection as a
URL, passing it to download. Let’s see our changes in action:
Reload Atom by running the Window: Reload command.
Open the Developer Tools. To do this, navigate to View > Developer > Toggle Developer Tools in the menu.
Create a new file, navigate to File > New.
Enter and select a URL, for example, http://www.atom.io.
Run our package command in any of the three ways previously described:
Developer Tools make it easy to debug Atom packages. Any console.log statement
will print to the interactive console, and you can use the Elements tab to
explore the visual structure of the whole application—which is just an HTML Document Object Model (DOM).
Ideally, we would like our download function to return the HTML as a string
instead of just printing page contents into the console. Returning body won’t work,
however, since we get access to body inside of the callback rather than download itself.
We will solve this problem by returning a Promise
rather than the value itself. Let’s change download to return a Promise:
Promises allow us to return values obtained asynchronously by wrapping asynchronous
logic in a function that provides two callbacks— resolve for returning a
value successfully, and reject for notifying the caller of an error. We call reject if an error is returned by request, and resolve the HTML otherwise.
Let’s change fetch to work with the Promise returned by download:
JavaScript
fetch() {
  let editor
  if (editor = atom.workspace.getActiveTextEditor()) {
    let selection = editor.getSelectedText()
    this.download(selection).then((html) => {
      editor.insertText(html)
    }).catch((error) => {
      atom.notifications.addWarning(error.reason)
    })
  }
},
fetch() {
  let editor
  if (editor = atom.workspace.getActiveTextEditor()) {
    let selection = editor.getSelectedText()
    this.download(selection).then((html) => {
      editor.insertText(html)
    }).catch((error) => {
      atom.notifications.addWarning(error.reason)
    })
  }
},
In our new version of fetch, we get access to the HTML by calling then on the Promise returned by download. This lets us insert the HTML into
the editor. We also accept and handle any errors returned by calling catch.
We handle errors by displaying a warning notification using the Atom Notification API.
Let’s see what changed. Reload Atom and run the package command on a selected URL:
If the command is run on an invalid URL, a warning notification will be displayed:
The next step involves extracting code snippets from the HTML of a
StackOverflow page we obtained in the previous step.
In particular, we’re interested in code from the accepted answer—an answer
chosen to be correct by the question author. We can greatly simplify our
package implementation by assuming any such answer to be relevant and correct.
This section assumes you are using the Chrome web
browser. You may be able to follow along using another browser, but instructions
may change.
Let’s take a look at a typical StackOverflow page that contains an accepted
answer with a code snippet. We are going to explore the HTML using Chrome
Developer Tools:
Open Chrome and navigate to any StackOverflow page containing an accepted
answer with code, such as this hello world example in Python or this question
about reading text from a file in C.
Scroll down to the accepted answer and highlight a section of the code snippet.
Right click and select Inspect
Inspect the location of the code snippet within the HTML code using the Elements
browser.
The accepted answer is denoted by a div with class accepted-answer
Block code snippets are located inside a pre element
Elements that render the code snippet itself sit inside a code tag
Now let’s construct a jQuery statement for extracting code snippets:
Click the Console tab within Developer Tools to access the JavaScript console.
Type $('div.accepted-answer pre code').text() into the console and press Enter.
You should see the accepted answer code snippets printed out in the console.
The code we just ran uses a special $ function provided by jQuery. $
accepts a query string to select and return certain HTML elements from the
website. Let’s take a look at how this code works by considering a couple of
intermediate example queries:
JavaScript
$('div.accepted-answer')
> []
$('div.accepted-answer')
> []
The above query will match all <div> elements that contain the class accepted-answer, in our case – just one div.
JavaScript
$('div.accepted-answer pre code')
> [<code>...</code>]
$('div.accepted-answer pre code')
> [<code>...</code>]
Building upon the previous, this query will match any <code> element that
is inside a <pre> element contained within the previously matched <div>.
JavaScript
$('div.accepted-answer pre code').text()
> "print("Hello World!")"
$('div.accepted-answer pre code').text()
> "print("HelloWorld!")"
The text function extracts and concatenates all text from the list of elements
that would otherwise be returned by the previous query. This also strips out elements
used for syntax highlighting purposes from the code.
Our next step involves using the query we created to implement a scraping
function using Cheerio, a jQuery
implementation for server-side applications.
Finally, let’s change fetch to pass downloaded HTML to scrape instead
of inserting it into the editor:
JavaScript
fetch() {
  let editor
  let self = this

  if (editor = atom.workspace.getActiveTextEditor()) {
    let selection = editor.getSelectedText()
    this.download(selection).then((html) => {
      let answer = self.scrape(html)
      if (answer === '') {
        atom.notifications.addWarning('No answer found :(')
      } else {
        editor.insertText(answer)
      }
    }).catch((error) => {
      console.log(error)
      atom.notifications.addWarning(error.reason)
    })
  }
},
fetch() {
let editor
let self = thisif (editor = atom.workspace.getActiveTextEditor()) {
let selection = editor.getSelectedText()
this.download(selection).then((html) => {
let answer = self.scrape(html)
if (answer === '') {
atom.notifications.addWarning('No answer found :(')
} else {
editor.insertText(answer)
}
}).catch((error) => {
console.log(error)
atom.notifications.addWarning(error.reason)
})
}
},
Our scraping function is implemented in just two lines because cheerio does
all of the work for us! We create a $ function by calling load with our
HTML string, and use this function to run our jQuery statement and return the
results. You can explore the entire Cheerio API in their developer documentation.
Reload Atom and run soucefetch:fetch on a selected StackOverflow URL to
see the progress so far.
If we run the command on a page with an accepted answer, it will be inserted
into the editor:
If we run the command on a page with no accepted answer, a warning
notification will be displayed instead:
Our new iteration of fetch gives us the code snippet within a StackOverflow page
instead of the entire HTML contents. Note that our updated fetch function
checks for the absence of an answer and displays a notification to alert the user.
Now that we can turn StackOverflow URLs into code snippets, let’s implement
our final function, search, which will return a relevant URL given the
description of a snippet, such as “hello world” or “quicksort”. We will be
using Google search via the unofficial google npm module, which allows us to
search programmatically.
Add an import statement for google at the top of lib/sourcefetch.js:
import google from"google"
import google from "google"
We will configure the library to limit the number of results returned
during search. Add the following line below the import statement to limit
returned results to just the top one.
fetch() {
  ...
},

search(query, language) {
  return new Promise((resolve, reject) => {
    let searchString = `${query} in ${language} site:stackoverflow.com`

    google(searchString, (err, res) => {
      if (err) {
        reject({
          reason: 'A search error has occured :('
        })
      } else if (res.links.length === 0) {
        reject({
          reason: 'No results found :('
        })
      } else {
        resolve(res.links[0].href)
      }
    })
  })
},

scrape() {
  ...
}
fetch() {
...
},
search(query, language) {
returnnewPromise((resolve, reject) => {
let searchString = `${query} in ${language} site:stackoverflow.com`google(searchString, (err, res) => {
if (err) {
reject({
reason: 'A search error has occured :('
})
} elseif (res.links.length === 0) {
reject({
reason: 'No results found :('
})
} else {
resolve(res.links[0].href)
}
})
})
},
scrape() {
...
}
The code above searches Google for a StackOverflow page relevant to the given
query and programming language, returning the URL of the top result. Let’s take
a look at how it works:
let searchString = `${query} in ${language} site:stackoverflow.com`
let searchString = `${query} in ${language} site:stackoverflow.com`
We construct the search string using the query entered by the user and
the current language selected. For example, if the user types “hello world” while editing Python, the query will be hello world in python site:stackoverflow.com. The final part of the string
is a filter provided by Google Search that lets us limit results
to those linked to StackOverflow.
JavaScript
google(searchString, (err, res) => {
  if (err) {
    reject({
      reason: 'A search error has occured :('
    })
  } else if (res.links.length === 0) {
    reject({
      reason: 'No results found :('
    })
  } else {
    resolve(res.links[0].href)
  }
})
google(searchString, (err, res) => {
if (err) {
reject({
reason: 'A search error has occured :('
})
} elseif (res.links.length === 0) {
reject({
reason: 'No results found :('
})
} else {
resolve(res.links[0].href)
}
})
We wrap the call to google inside a Promise so that we can return our URL
asynchronously. We propagate any errors returned by the library, also returning
an error when there are no results available. We resolve the URL of
the top result otherwise.
fetch() {
  let editor
  let self = this

  if (editor = atom.workspace.getActiveTextEditor()) {
    let query = editor.getSelectedText()
    let language = editor.getGrammar().name

    self.search(query, language).then((url) => {
      atom.notifications.addSuccess('Found google results!')
      return self.download(url)
    }).then((html) => {
      let answer = self.scrape(html)
      if (answer === '') {
        atom.notifications.addWarning('No answer found :(')
      } else {
        atom.notifications.addSuccess('Found snippet!')
        editor.insertText(answer)
      }
    }).catch((error) => {
      atom.notifications.addWarning(error.reason)
    })
  }
}
fetch() {
let editor
let self = thisif (editor = atom.workspace.getActiveTextEditor()) {
let query = editor.getSelectedText()
let language = editor.getGrammar().name
self.search(query, language).then((url) => {
atom.notifications.addSuccess('Found google results!')
return self.download(url)
}).then((html) => {
let answer = self.scrape(html)
if (answer === '') {
atom.notifications.addWarning('No answer found :(')
} else {
atom.notifications.addSuccess('Found snippet!')
editor.insertText(answer)
}
}).catch((error) => {
atom.notifications.addWarning(error.reason)
})
}
}
Let’s take a look at what changed:
Our selected text is now treated as the query entered by the user.
We obtain the language of the current editor tab using the TextEditor API
We call search to obtain a URL, which we access by calling then on the
resulting Promise
Instead of calling then on the Promise returned by download, we instead
return the Promise itself and chain another then call onto the original call.
This helps us avoid callback hell
And we’re done! See the final plugin in action by reloading Atom and running
our package command on a problem description, and don’t forget to select a language
in the bottom-right corner.